Our second project in Engineering 160 was to design and build a well windlass. A well windlass is "a device that can go over a well and has a hand-powered crankshaft to lift a 'bucket of water' (one liter of water)." Here is an example of a windlass:

We were required to build it completely out of Delrin sheets and rod. We were limited to 500m^2 of
Delrin sheet and 50cm of Delrin rod, and we were allowed to use any of the fastening techniques that we learned (including the piano wire) to put together the windlass.
For this project, Rachel and I began by brainstorming ideas for the windlass. We made sketches of the whole windlass:


and for specific parts of the windlass with more detailed and specific designs:


Rachel and I then discussed which designs we liked best and began incorporating our ideas in to a small scale prototype made out of cardboard. We originally wanted to use triangular supports and make a sort of pyramid. Triangles are very strong structures, whereas squares are not. We would connect the supports using Delrin rod, which would also be used to pull up the string some how. The challenge with this, however, was that we would have to cut out holes at an angle in order to fit the Delrin rod at the top like we had hoped. We also ran in to a lot of trouble when it came to how to attach the crank and the mechanism that would wind up the string. We knew we had to make some changes, so we wanted to build an actual size model so we could figure out the specific details.


Day 5 (2/9/16)
Today we started off class by talking a little bit about mechanisms. We talked about gears and gear trains, belt and chain drives, cams and followers, and linkages. See my "Mechanisms" post to learn more about gears and gear trains.
After our short introduction to mechanisms, Rachel and I went back to work on our well windlass. We made our foam core prototype and incorporated a few changes to our design. We decided to have the sides at a 90 degree angle to the table in order to make our fastening and attaching simpler. Unfortunately this gave our design a square shape, which is not the most stable. To give our structure extra support, we decided to incorporate beams on the sides. We decided that in order to make the structure stronger and more stable, we would use triangular beams at an angle that would connect the top of one structure to the bottom of the other.
We also figured out a way we could wind up the string and pull up the bucket. We decided we would cut out two Delrin disks with a hole in the middle and three holes in a circle farther out from the center. The center hole in the disk would have the main support rod that would go through both triangular structures and the other three holes would have smaller pieces of Delrin rod so that when we wound it up, the string would wind up quicker and would have more support. With just a single beam going through, there would not be enough strength to support the liter bottle of water. Here is where the physics equation for cantilevers comes in to use. We can control the length of the rods (to a certain degree) and the thickness (by adding rods together or around each other), however we cannot control Young's modulus or the applied force. In order use the changeable variables to our advantage, Rachel and I added more rods around in a circle to increase the effective thickness of the "cantilever." We also tried to minimize the length of the effective cantilever. Had we had more rod, we maybe could have added more long beams in the center for extra support of the main crank system. We could have also improved the strength by using a different material, with a larger Young's modulus, instead of the Delrin rod. Also with the increased effective radius of the wheel, we were able to increase the speed at which we could crank up the bottle. Instead of just having the string wrap around one rod, it wrapped around 3. We could have made it faster by increasing the effective radius, but we were under a materials constraint and couldn't make the disks much larger than we had them.
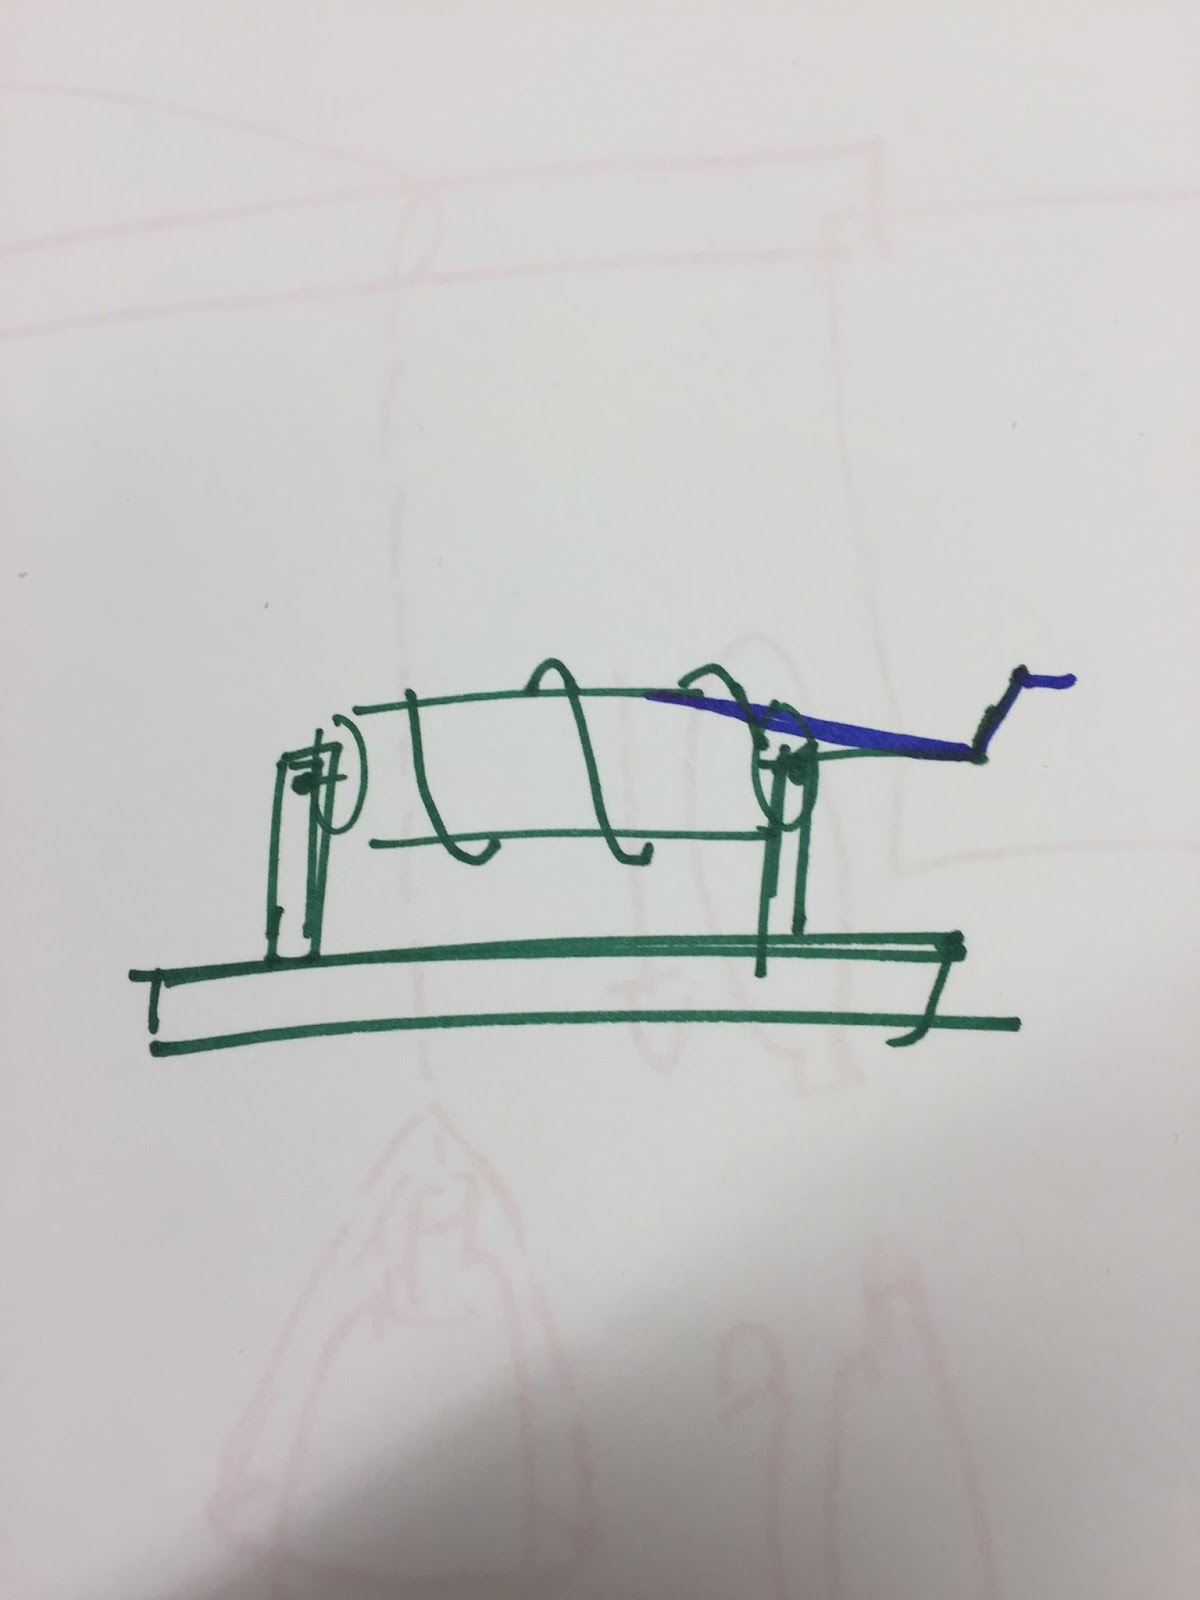
Rachel and I struggled a lot with figuring out how to crank the windlass. We originally had the idea that we would cut out a circle in one of the supports and instead of having both disks with the Delrin rods on the inside of the support structure, we would have one on the inside and one just outside the support structure. We planned to make one of the connecting pieces of Delrin rod longer than the other so that we could crank it around in a circle like this:

Here is what our final foam prototype looked like:


Once we finished our foam core prototype, we began designing our pieces in SolidWorks. We had to make a few changes so that we could meet the 500cm^2 limitation:

In order to attach all of our pieces, we decided to use slots and pegs, as well as cut out holes for the Delrin rod. Before we printed out any of the big pieces, we tested out our measurements in SolidWorks and the laser cutter so we could ensure the tightest, best fits possible. We cut out the pegs and slots and holes about 5 times each and finally figured out what measurements to use in SolidWorks so that the laster cutter cut them the right size. We then made sure all of our measurements were accurate and cut out all of the pieces that we needed.
We worked on cutting out the pieces and putting together our prototype all the way up to the next class period on Friday.
Day 6 (2/12/16)
Today was the day we were all supposed to test our windlasses. Rachel and I were able to finish our very first prototype and put together all of the pieces:


Unfortunately, our prototype had a lot of issues and was unable to pull up the liter of water without a lot of support and effort from us. It was warped and twisted due to the diagonal support beams (and likely incorrect measurements). It was also very imbalanced because of the asymmetrical placement of wheels. Another issue was that we ran out of Delrin rod, so we weren't able to put rod in all three slots, which also caused a lot of problems.
Thankfully, Amy decided to give us all an extension on the project so we could get our first prototype working somewhat successfully. She gave Rachel and I a few suggestions on how to fix our prototype and gave us some hints as to where we went wrong.
Rachel and I went to work the rest of the class deciding how we were going to fix our issues and what design changes we would need to make.
We decided that instead of having our support beams come diagonally across, we would just use horizontal beams towards the top of the structure to prevent warping and twisting of the material. We also decided to put both of the Delrin disks on the inside of the structure and get rid of the big circle cut out in one of the structures. This was to make the design symmetrical and more stable. We also decided that we could move the disks closer to each other so that we would have enough Delrin rod to use in all three pegs.
As for the cranking part, we decided to attach a handle to the middle rod and spin it from outside of the structure. Unfortunately, the fittings weren't tight enough to allow us to spin the center rod effectively. To fix this, we used piano wire to attach the disks to the center rod, the center rod to the crank that we made, and the crank to the extra Delrin rod that we used as a handle. That way none of the pieces would slip and we would be able to easily turn the crank. Our final product looked like this:


Day 7 (2/16/16)
Today we tested our first working prototype of our windlasses. Our improved prototype was much more effective than our previous one because we fixed the majority of our big problems. We were actually able to crank up the bottle without having to hold our structure super tightly.
To make sure we stayed on budget with our material, we used the setting in SolidWorks to determine the surface area of all of our parts. Our final breakdown of material we used is as follows:
| Part Type | Total Surface Area |
|---|---|
| Triangular Structure x2 | ~310 cm^2 |
| Disk x2 | ~75 cm^2 |
| Bottom Support Beam x2 | ~50 cm^2 |
| Side Support Beam x2 | ~35 cm^2 |
| Total | ~470 cm^2 |
If we had more time, we would refine our structure more and eliminate some of the excess surface area we had on our prototype. We could also shorten the support beams to save material there as well. With that excess material we could have designed another piece that would hold the structure down on the table so we wouldn't have to use our hand. We could also make the crank longer to get more leverage and be able to apply more torque to the system to allow it to spin faster.
I like the way you write your blog chronologically and make the pictures and chart so neat and nice!
ReplyDelete